In early 2024, I enrolled us in a wooden boat-building course. But not just any course—this was a chance to build a boat using Vendia wood. Vendia wood is a Finnish innovation, a marine-grade plywood made from pine. Specifically, it’s crafted from old, straight-grown pines with almost no branches. Branches are undesirable because they create weak points where water can seep in.
The Material: Vendia
When creating veneer, the wood must be sliced. There are two methods: rotating the tree trunk or slicing it without rotation. Vendia uses the latter. The trunk is cut to a specific length to fit the machine, and a knife slices thin sheets of veneer. Unlike conventional plywood, where layers are glued with grains at 90-degree angles for sturdiness, Vendia’s layers align in the same direction. This design ensures the flexibility needed to bend the wood during boat construction.
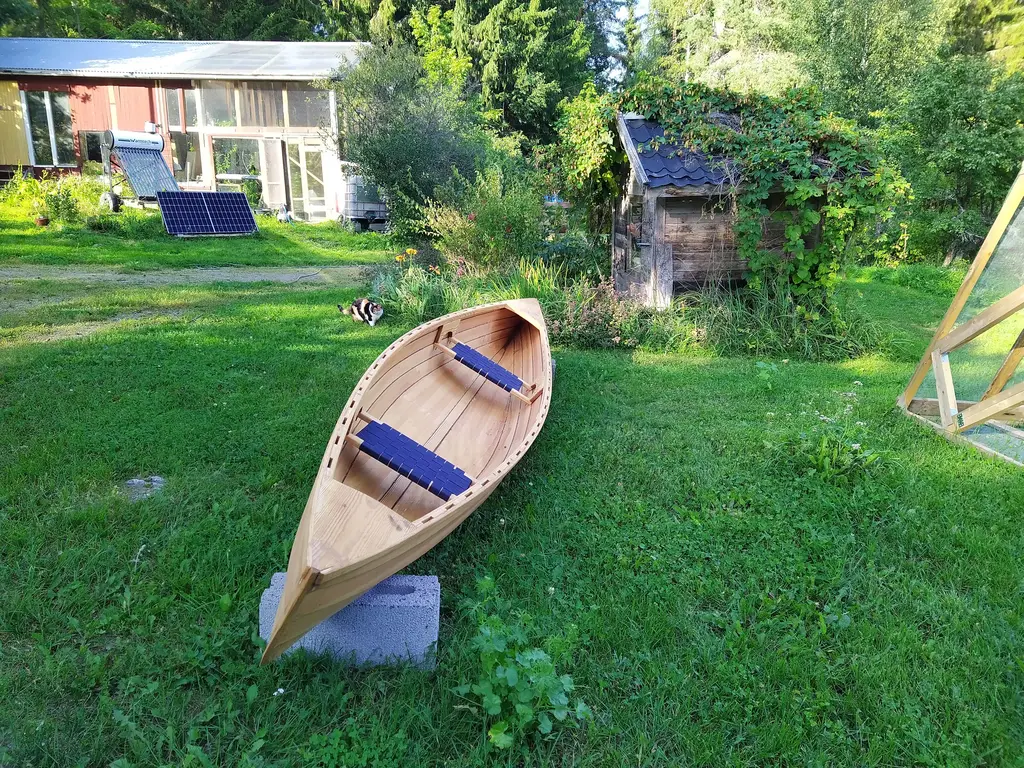
Vendia plywood is 5 to 6 mm thick, making the resulting boat extremely light for its 4.56-meter length. Weighing only 30 kg, it boasts a loading capacity of 200 kg. In comparison, boats of the same size built with wooden planks are significantly heavier.
The reduced weight also translates to a lower environmental footprint. Building the same boat with Vendia uses about one-third of the material required for traditional methods. Unlike fiberglass boats, which eventually degrade and release microplastics, Vendia boats are a sustainable alternative - perfect for those who want to avoid polluting rivers and lakes.
Understanding Epoxy
Epoxy is a type of resin widely used as an adhesive and coating material due to its strength and durability. It is made from a combination of epoxy resins and hardeners, which chemically react to form a rigid plastic material. While epoxy is effective and versatile, it is derived from petroleum-based products and can be harmful to the environment if not handled properly. During our build, we used only a very small amount of epoxy compared to what is required for a fiberglass boat, significantly reducing the environmental impact.
Preparations: Getting Started
After signing up, Jouka, the sales director at Vendia, called to ask about my preferences, including the plywood surface finish and the color of the seats. With my choices made, I eagerly anticipated the course.
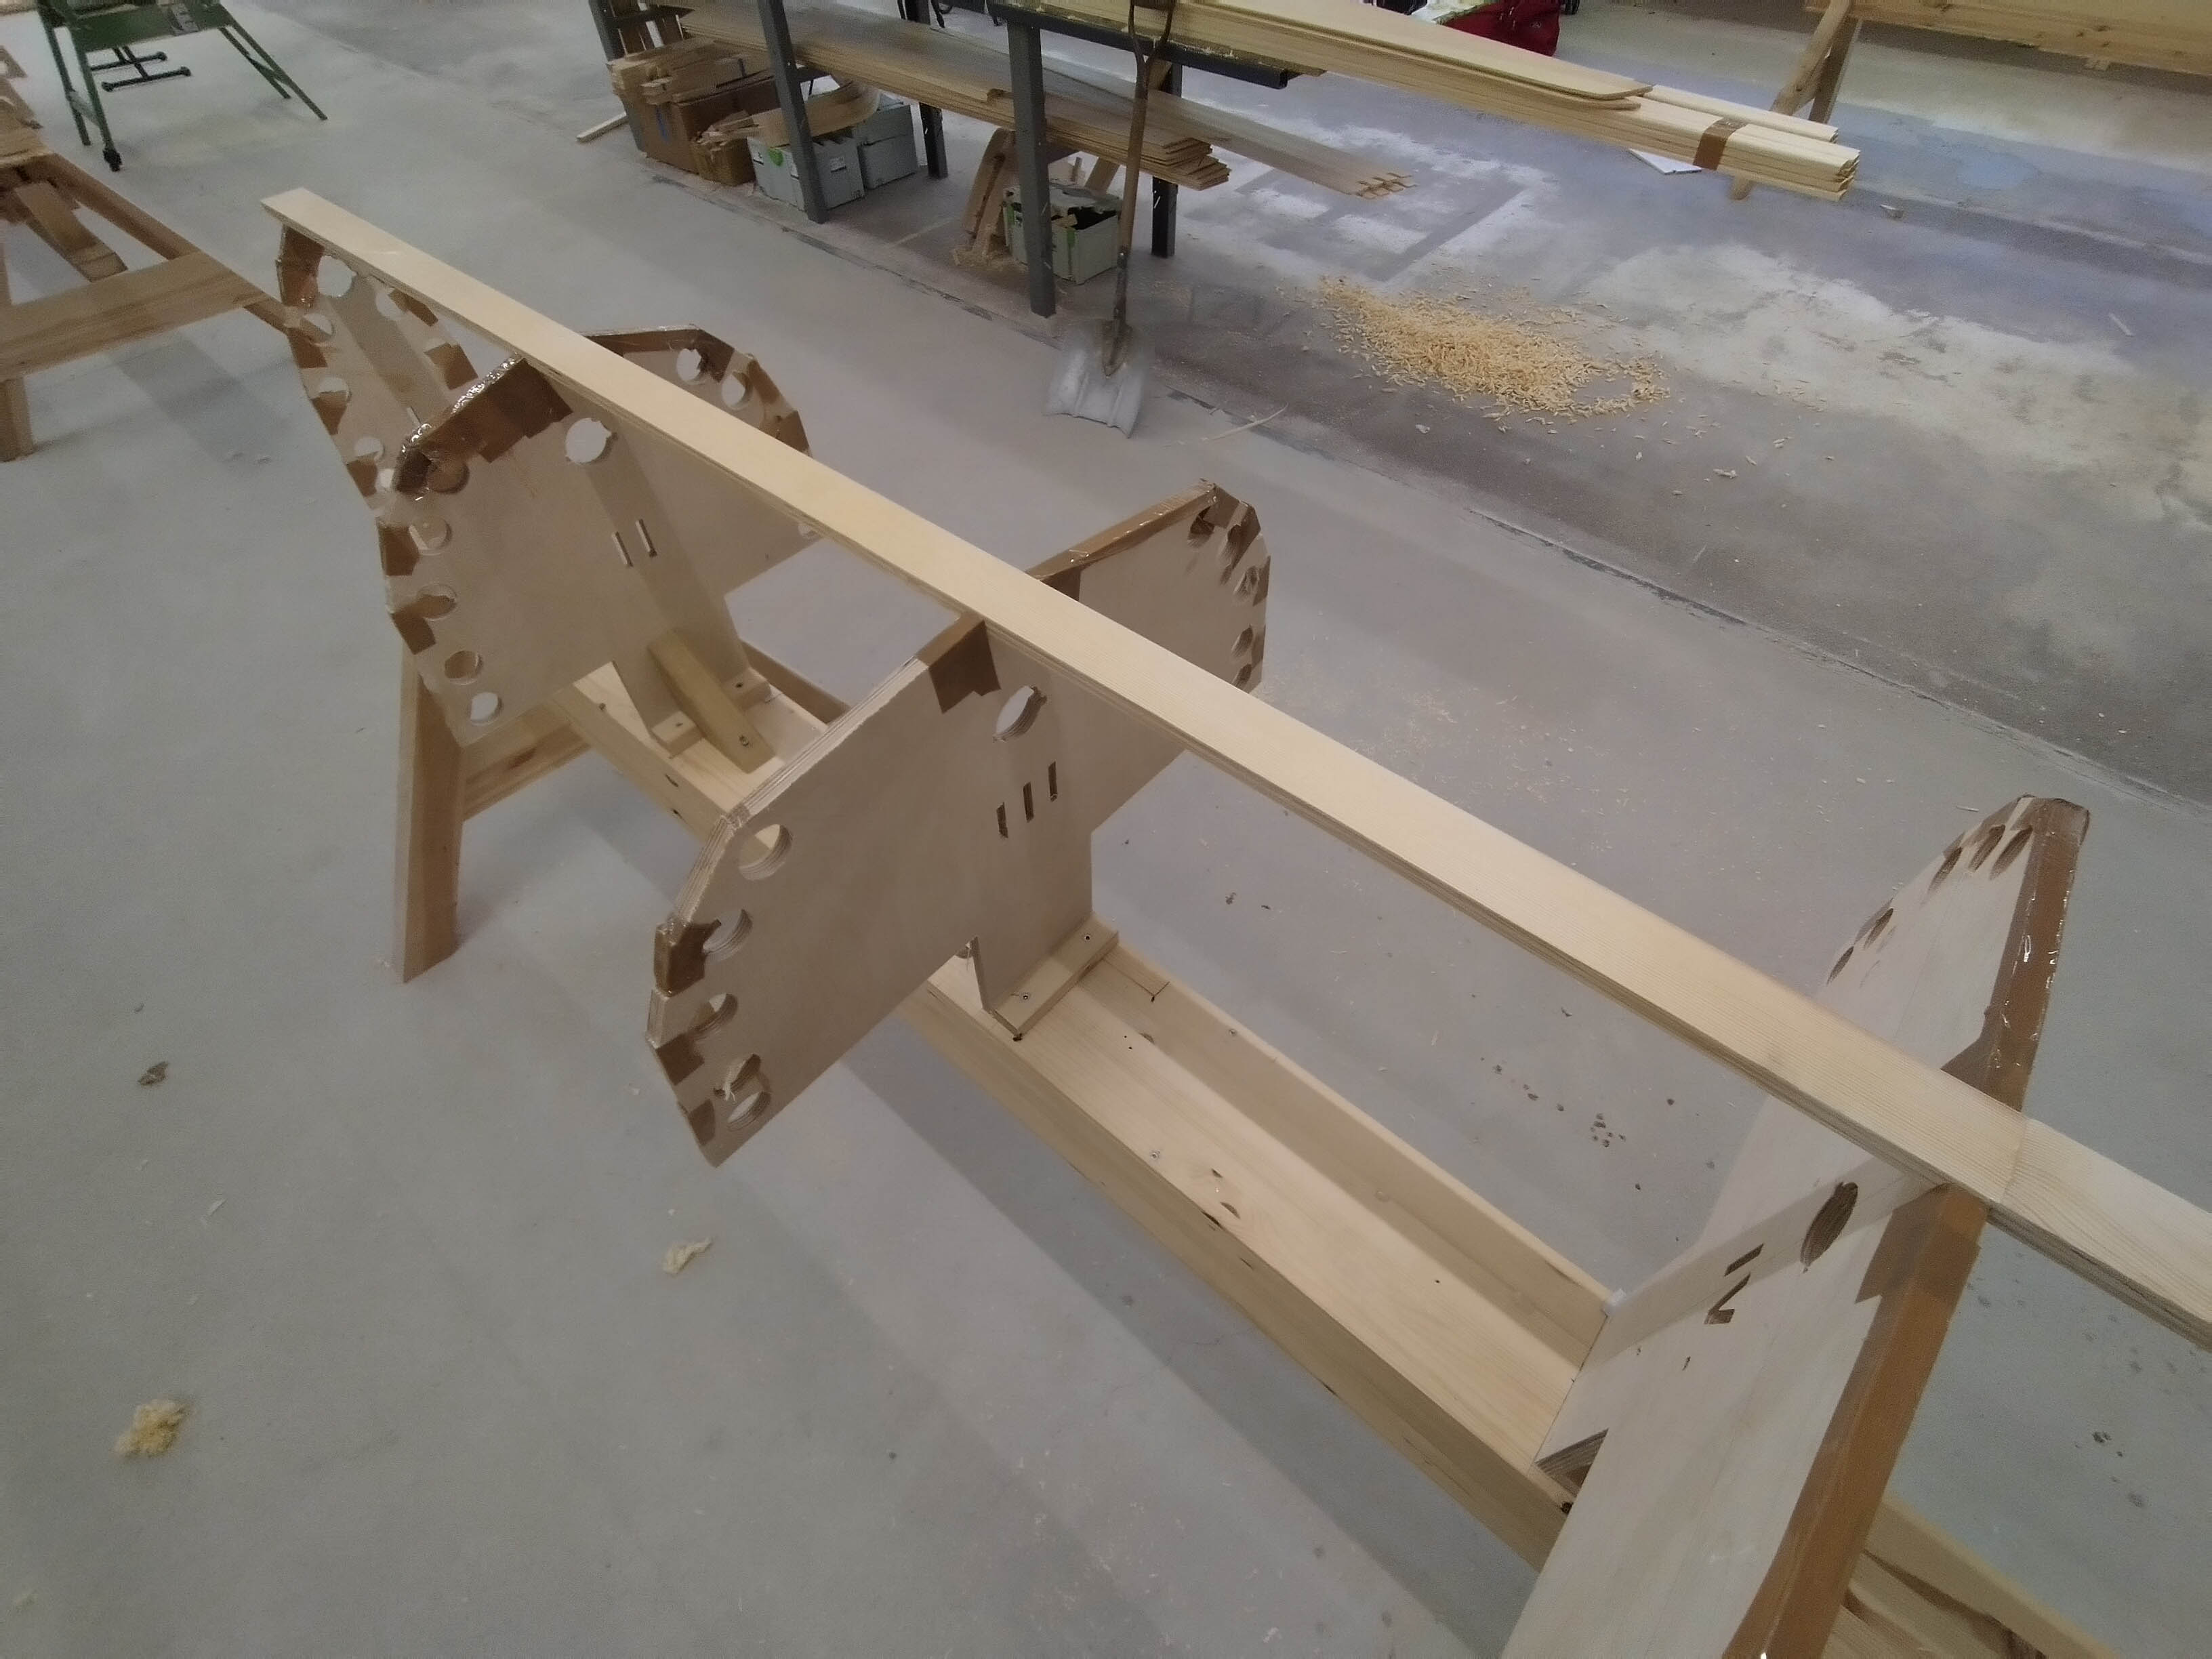
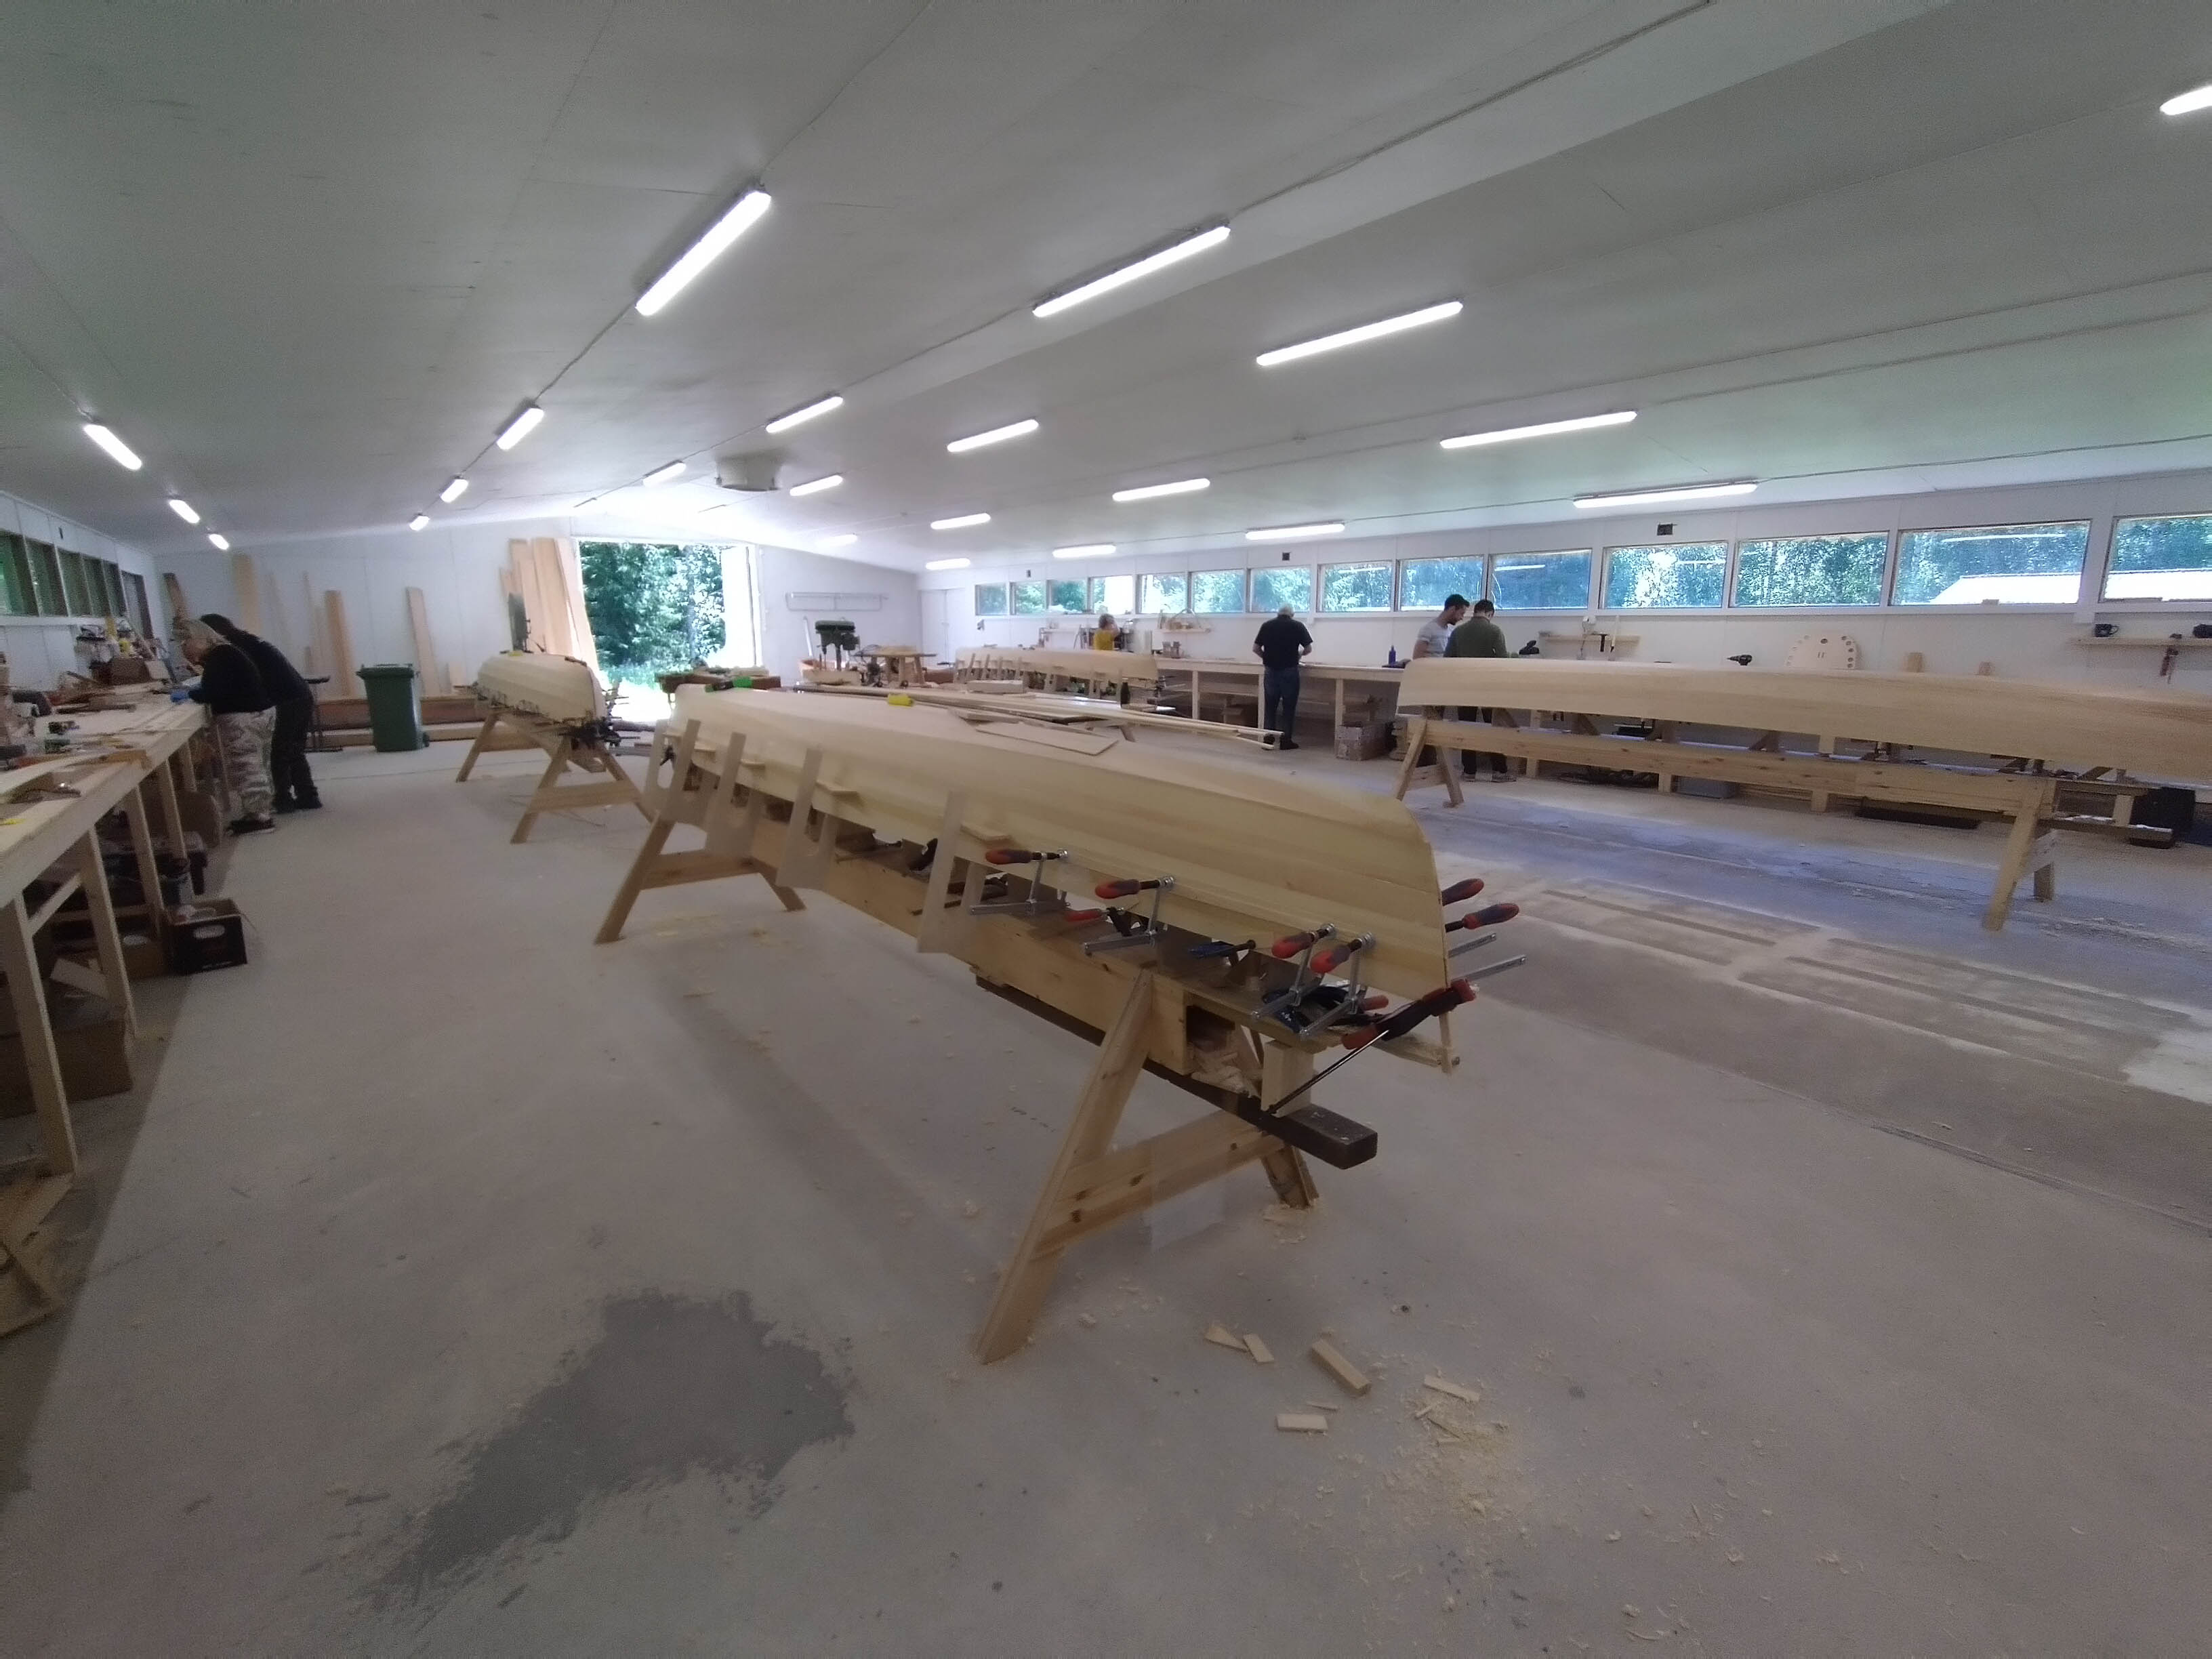
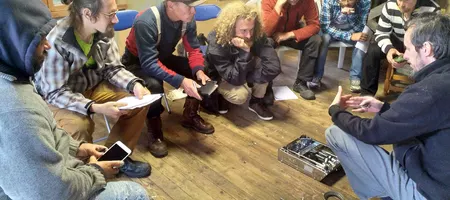
Designed for two people per boat, the course accommodates up to five boats in the workshop. Lumia couldn’t attend during the first week, so I started early. Upon arrival at the Aamätsä workshop, the instructor, Juho Paaso, guided me through tool usage, focusing on the sander, plane, and spoke plane. Juho had also prepared the strongbacks, the framework on which the boat is constructed. This setup allows for upside-down assembly, starting from the bottom and layering upward.
The Process: Gluing, Planing, and Sanding
During the first week, we tackled the puzzle joints, sanding, masking (optional), and gluing them with epoxy. Puzzle joints are necessary because Vendia’s cutting machine handles lengths up to three meters, whereas the boat is 4.56 meters long. The joints fit together seamlessly, with epoxy providing a secure bond.
Epoxy requires humidity below 80% to cure properly and takes about 12 hours to dry, dictating our daily schedule:
- Remove CNC-milled plywood from forms.
- Sand the plywood.
- Mask the plywood with tape.
- Glue parts together with epoxy.
- Sand off excess epoxy.
- Fit plywood to the strongback.
- Attach plywood to the keel.
- Shape the keel with planers.
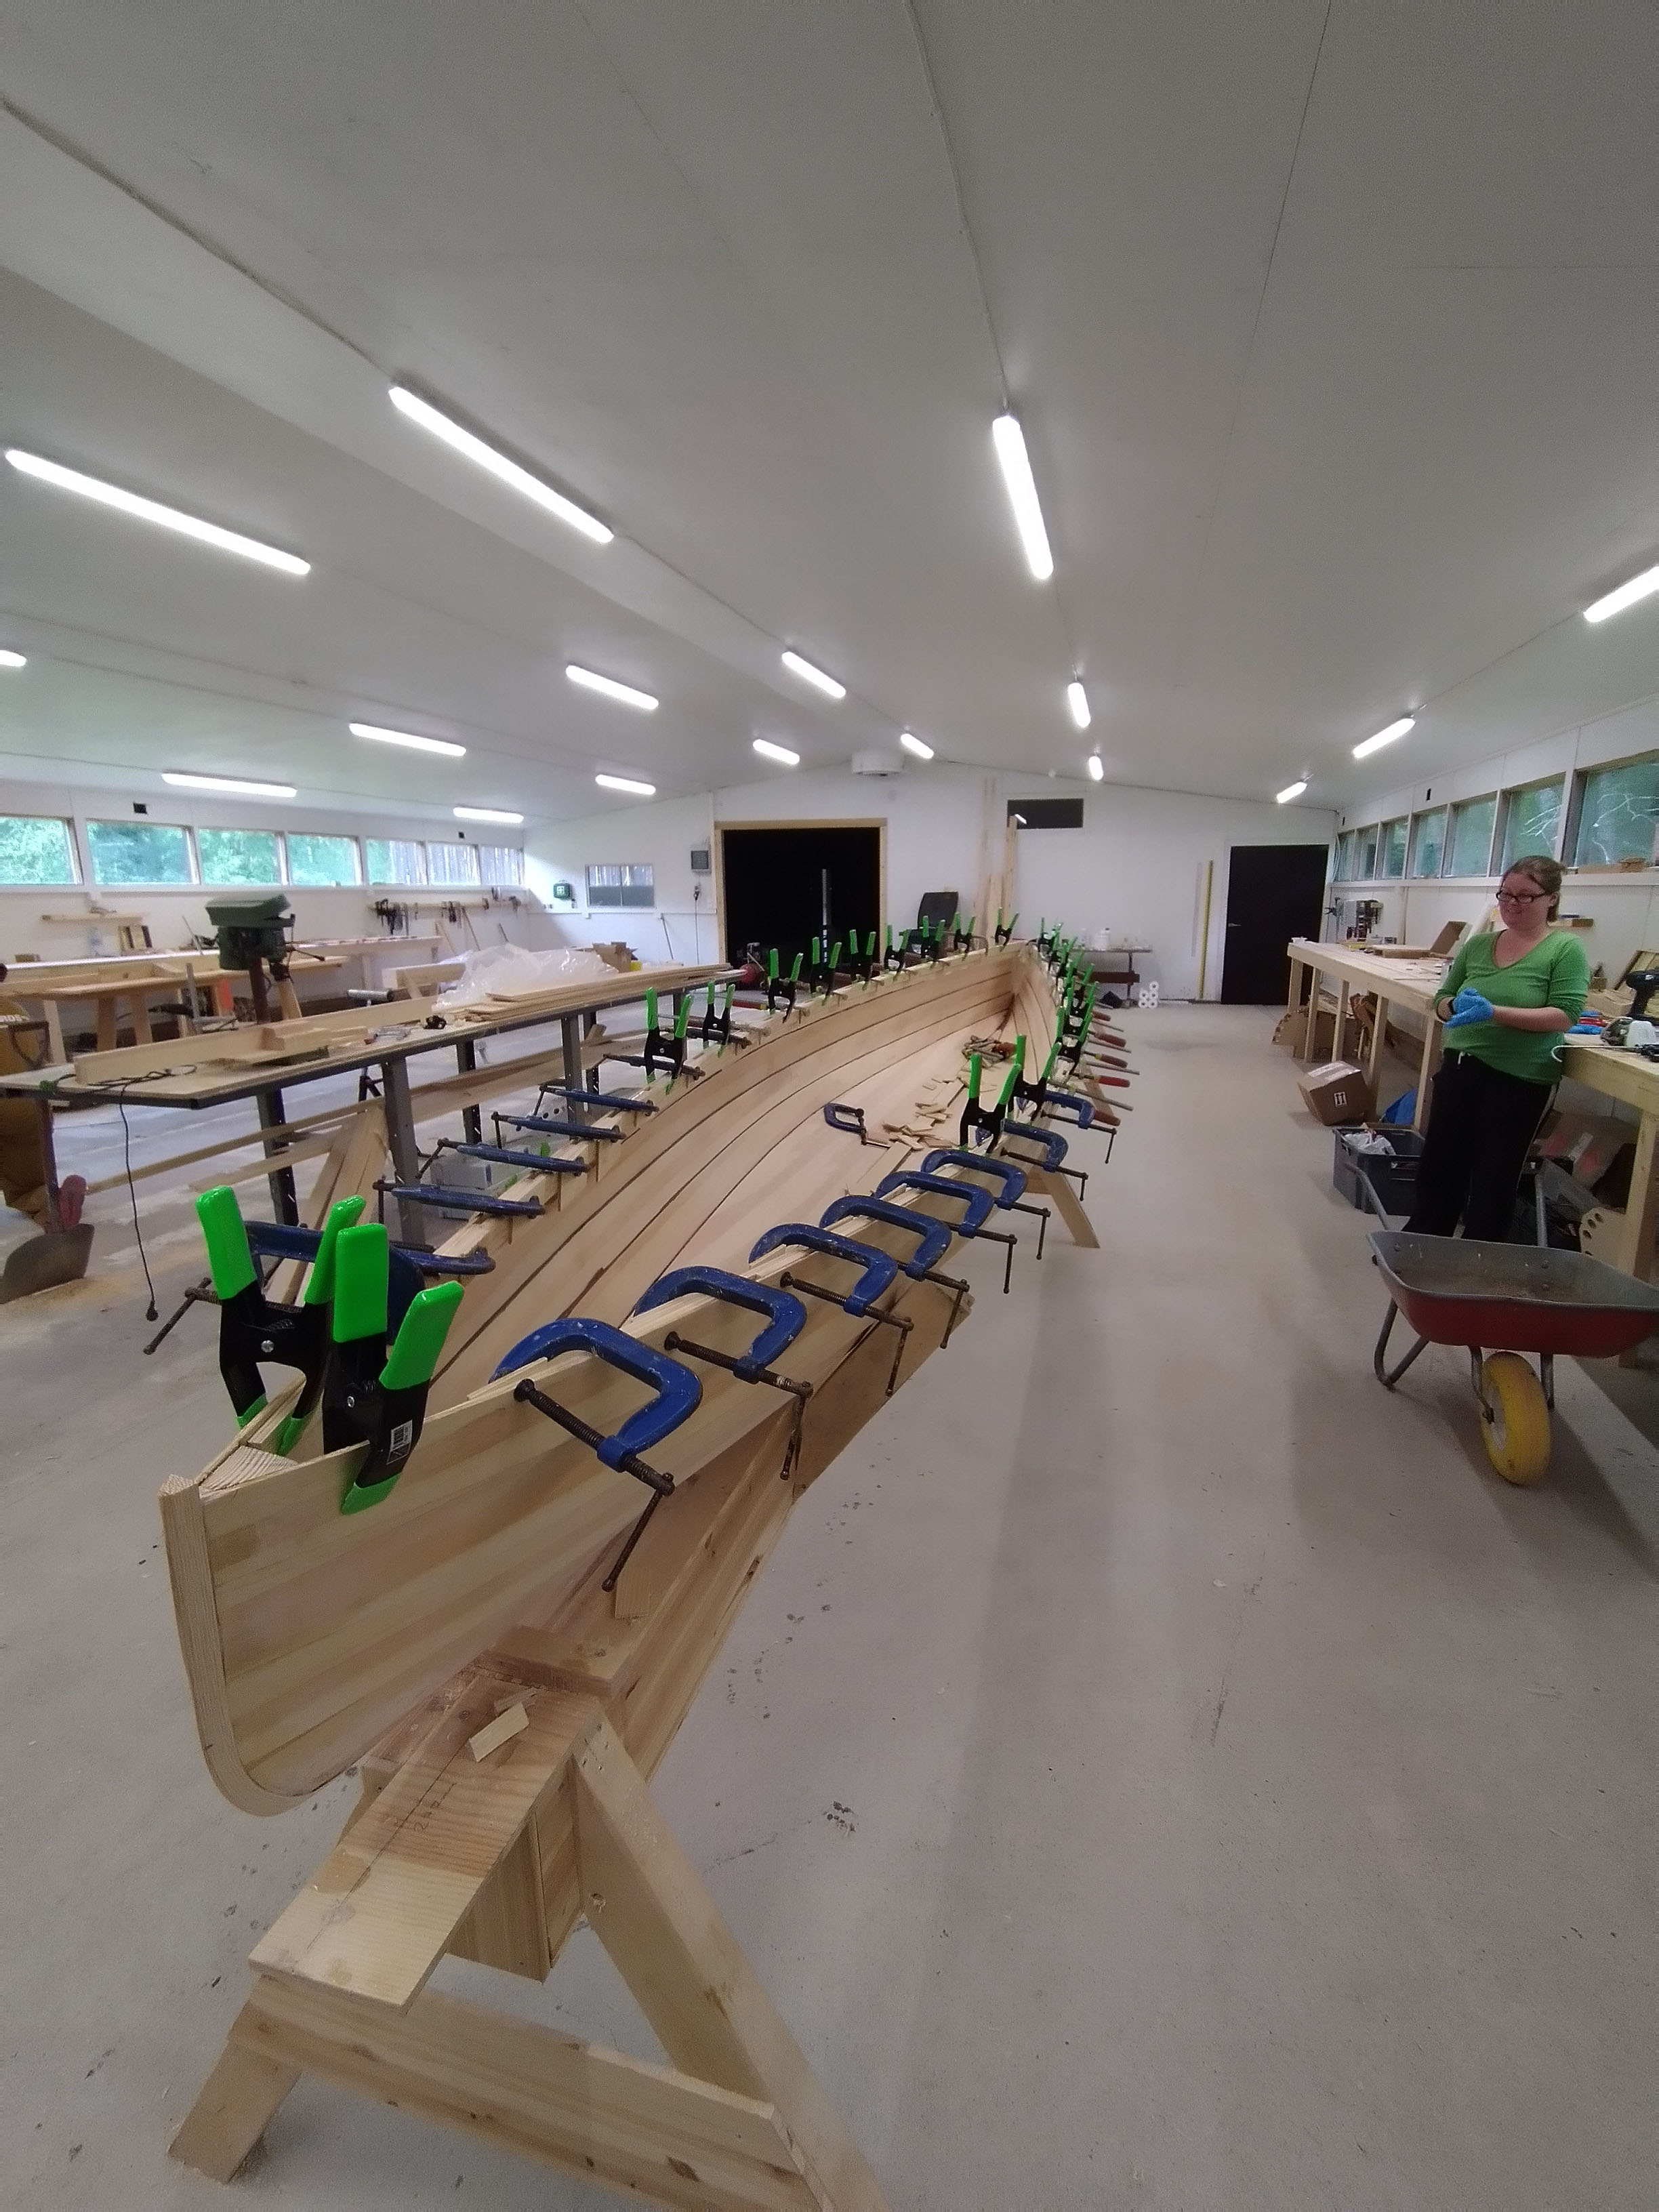
- Glue new layers to the previous ones.
- Clamp layers and let them dry.
Lunch breaks were a delight, with vegetarian meals served in a lakeside hut, complete with traditional Finnish bread. Coffee breaks often included cake, adding to the camaraderie.
Once all layers were attached, the workflow shifted:
- Plane excess plywood.
- Fill gaps with epoxy.
- Smooth the keel.
- Remove the boat from the strongback and flip it.
- Assemble and fit the gunwale and spacers.
- Attach the wales to the boat.
- Construct and install the seats.
- Remove residual epoxy.
- Sand the surface.
- Drill holes for ropes and finish with epoxy.
While some participants finished early, most of us stayed through the weekend. I required extra time, but with Juho’s assistance, everything came together.
Final Treatment
Juho helped me strap the boat to a trailer using custom spacers. Driving carefully back to Laitikkala, I began the final surface treatment: a mix of linseed oil, tar, and turpentine, applied twice inside and out. The result? A stunning vessel.
Unfortunately, the boat didn’t make it into the water in 2024 due to delays in acquiring additional gear. However, I’m eagerly looking forward to launching it this year!

